A step-by-step account of how I created a design system for my own website using Sketch App and Zero Height.
Whilst freelancing at Spark 44 I helped the team evaluate design system tools for their forthcoming project for Jaguar Land Rover.
I read through several articles about Lingo and InVision DSM and then stumbled across Zero Height. Intrigued by what I saw on the Zero Height website, I thought I would give it a try prior to recommending it to the Spark 44 team.
So I created my own design system for this website. Below is an overview of the steps I undertook. Hopefully, they'll come in useful if you're setting up your own.
Note: This article assumes you know what a design system is and understand Sketch basics.
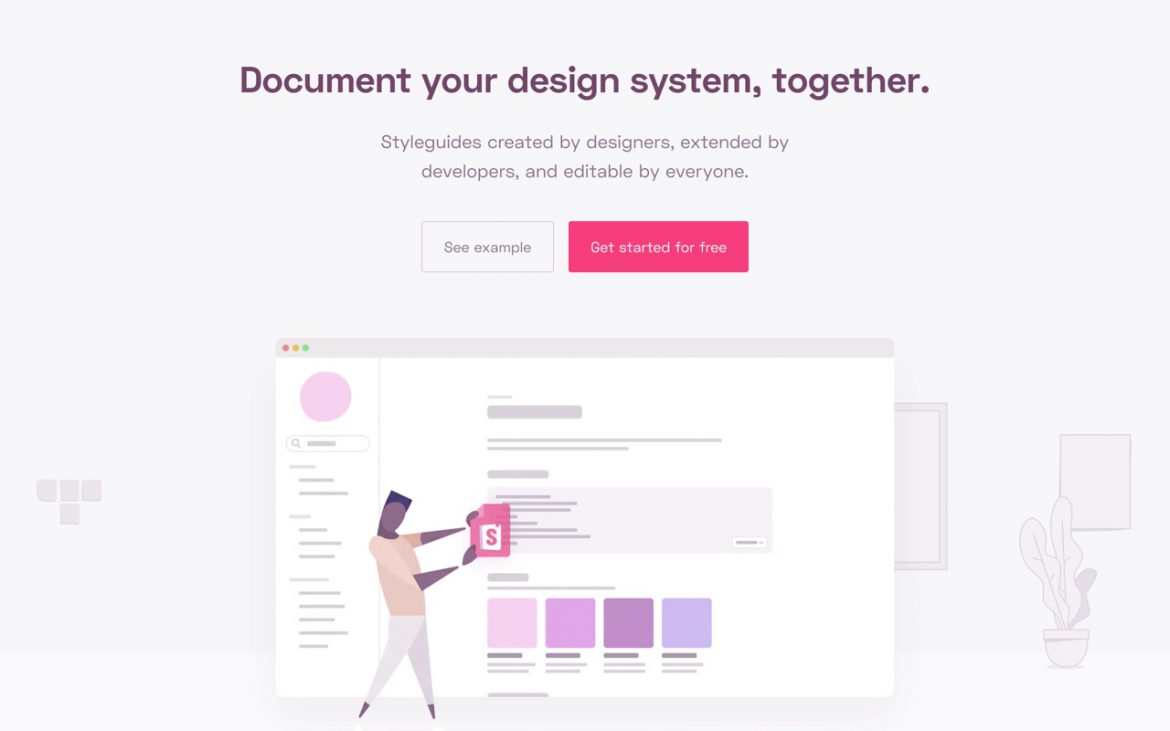
What Is Zero Height?
Zero Height is an online tool that integrates with Sketch to allow product teams to create web-based design systems.
Key Features
- Sketch Plugin to upload shared layer and text styles, symbols etc.
- Code snippet integration with live preview
- Embed third party prototypes from InVision, Marvel etc.
- Rich media support for images, videos etc.
- Rich text editor, so you can document your assets
- Extensible tree navigation makes it easy to navigate your system
- Ability to create infinite sections
Getting Started With Zero Height
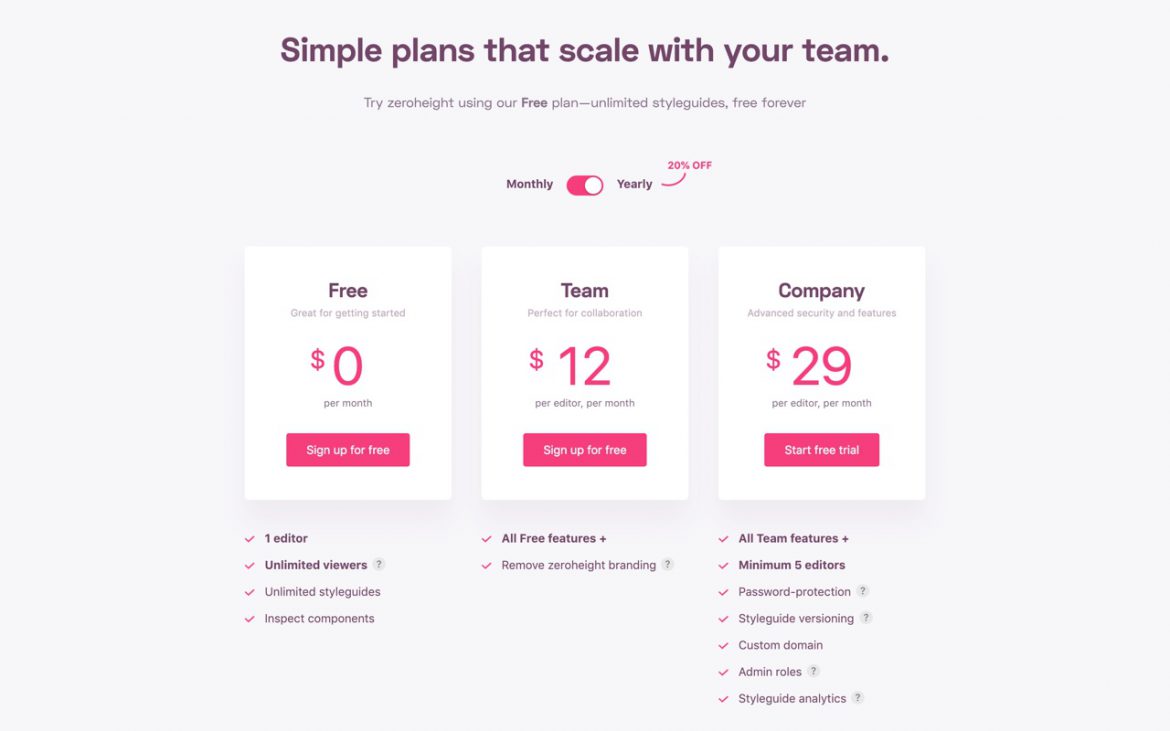
Zero Height currently offer a free account so you can test out the functionality of their product.
Create An Account
Jump over to their site and fill in the simple sign-up form.
Create Your First Style Guide
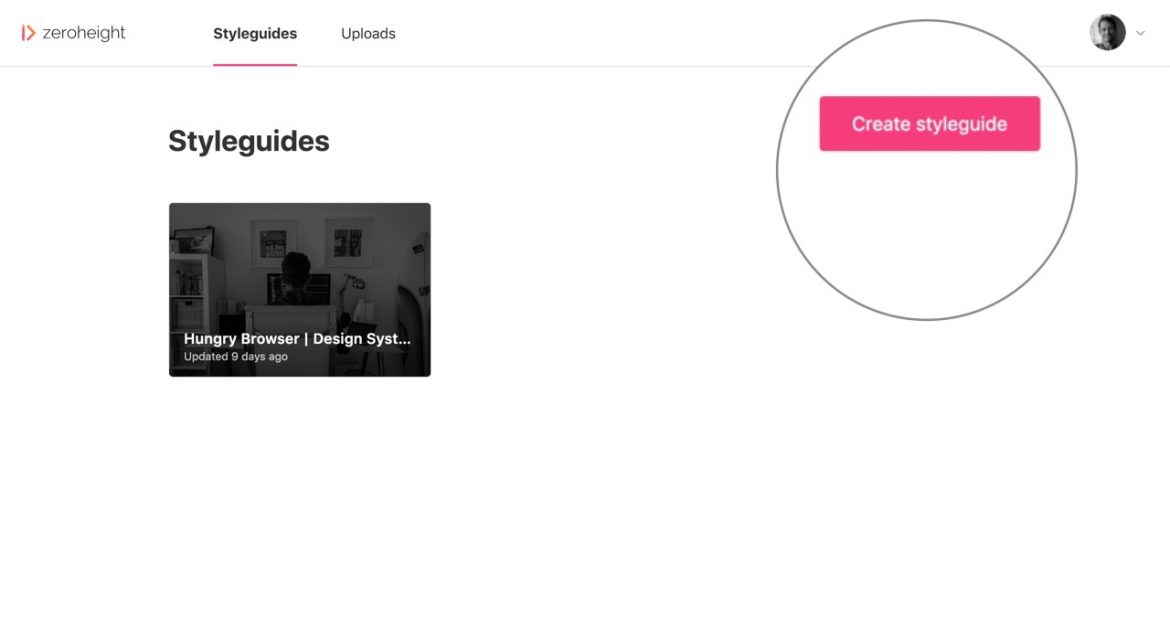
Once you have created your account you can set up your first style guide by selecting the 'Create Styleguide' button.
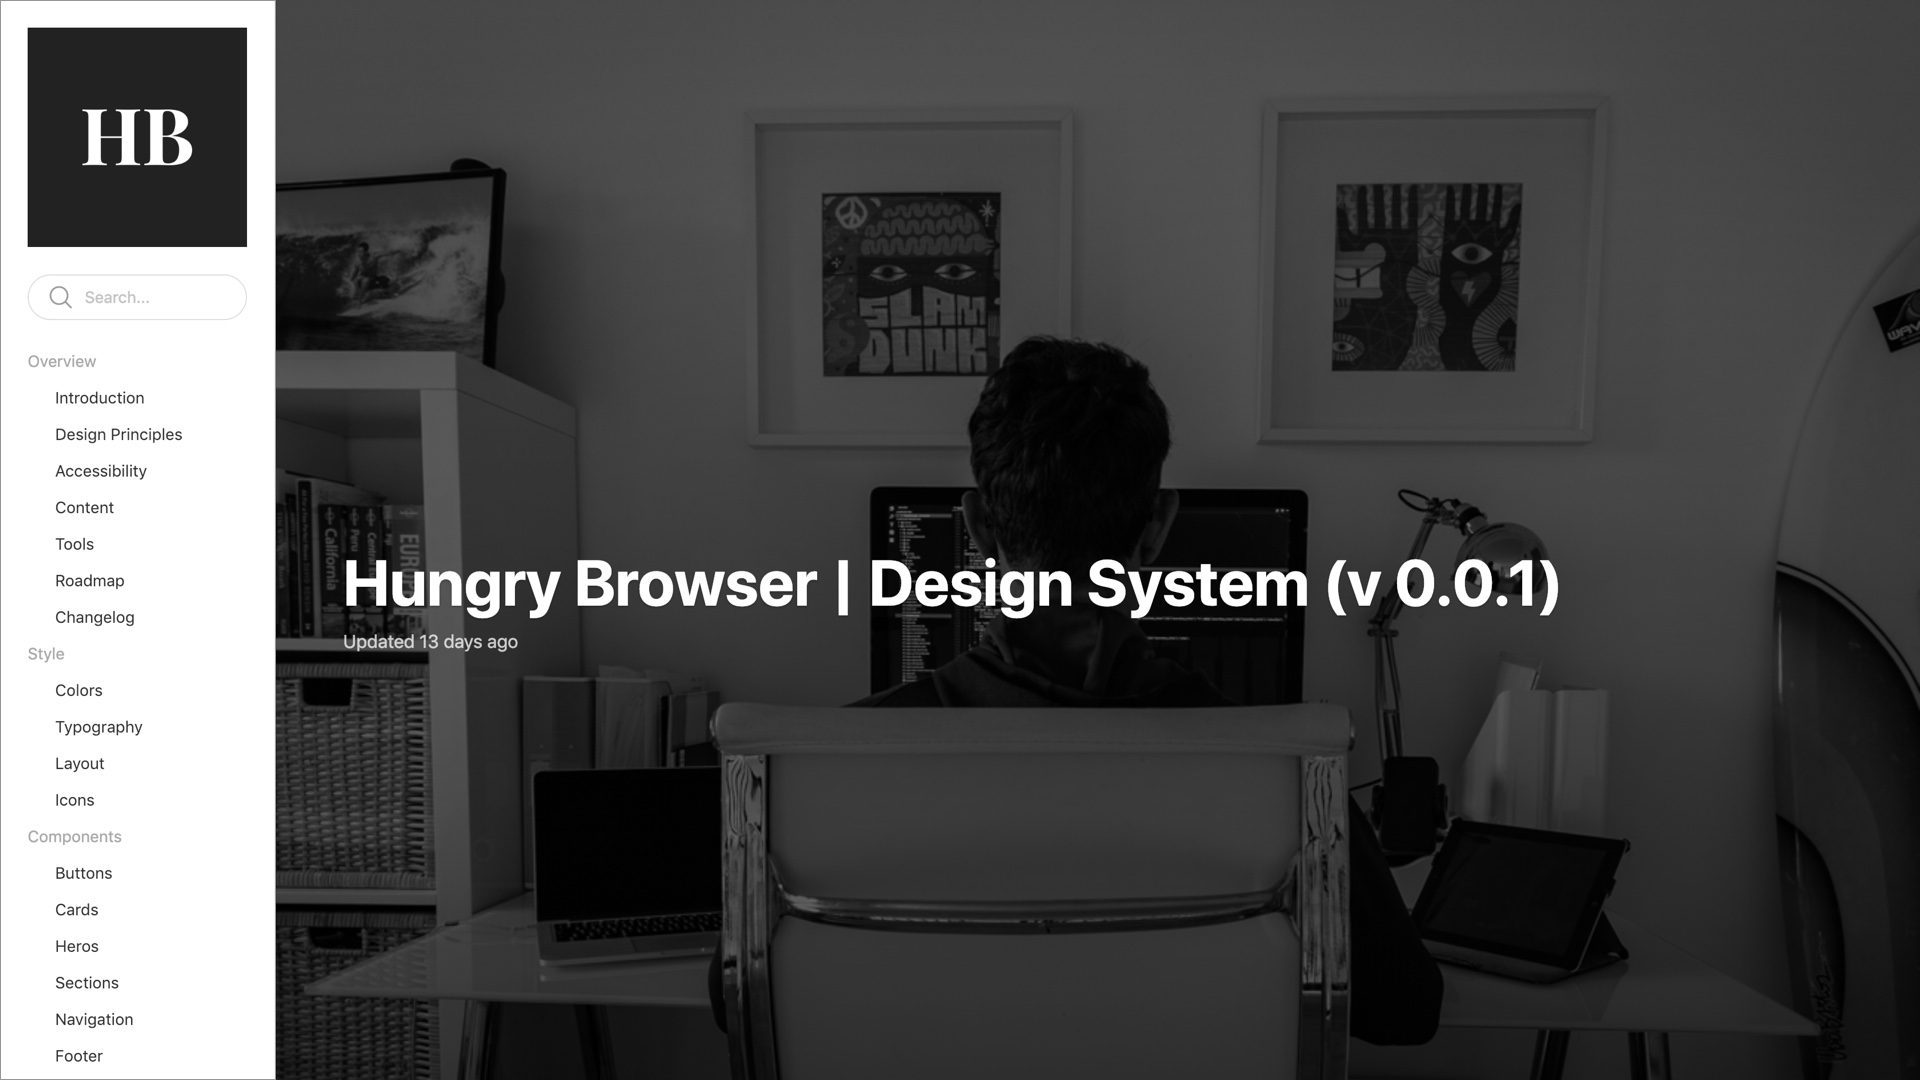
Initial Style Guide Layout
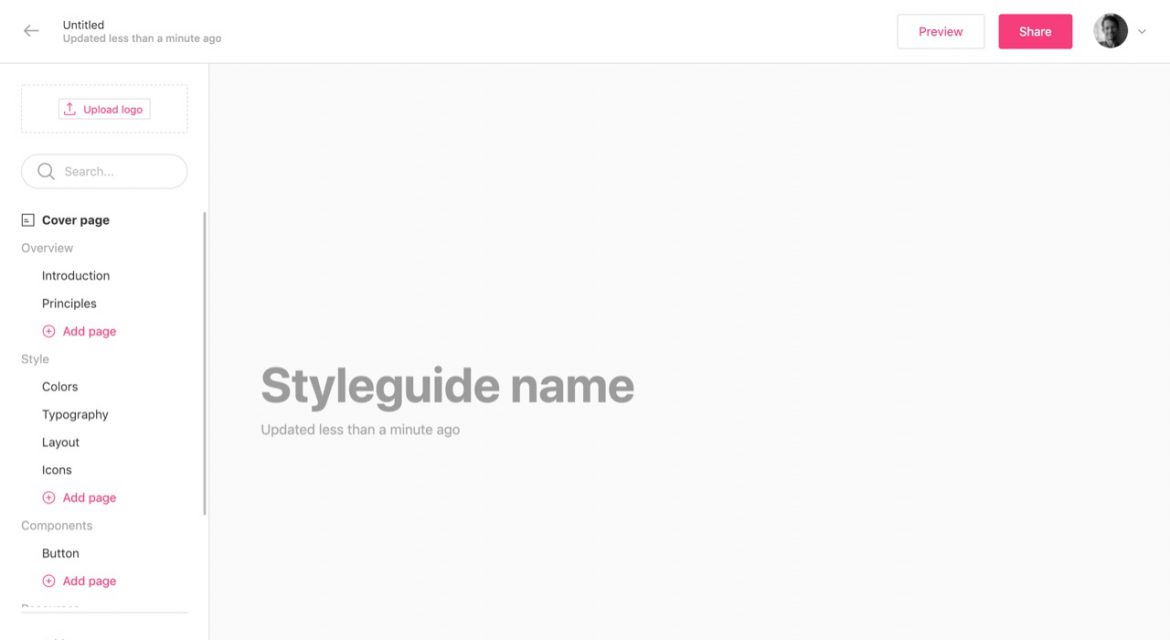
Once you've selected 'Create Styleguide' a skeleton layout is created with some placeholder sections for introductions, principles, styling etc. Have a look around and familiarise yourself with the layout. Your content sits on the right-hand side and your navigation on the left.
Customising Your Sections
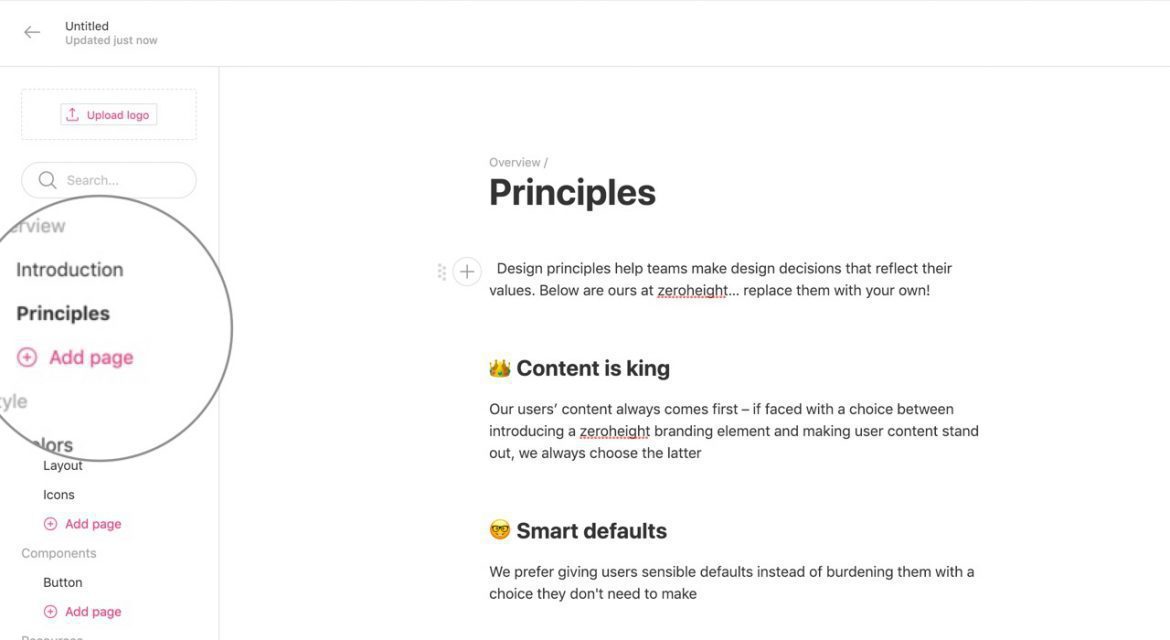
You can rename, reorder, create new sections and add your own logo by selecting the respective links.
Zero Height Sketch Plugin
The last (but super important step) you need to do before you jump into Sketch is to download the Zero Height Sketch plugin. For more on Sketch plugins, check out the official docs.
Download The Plugin
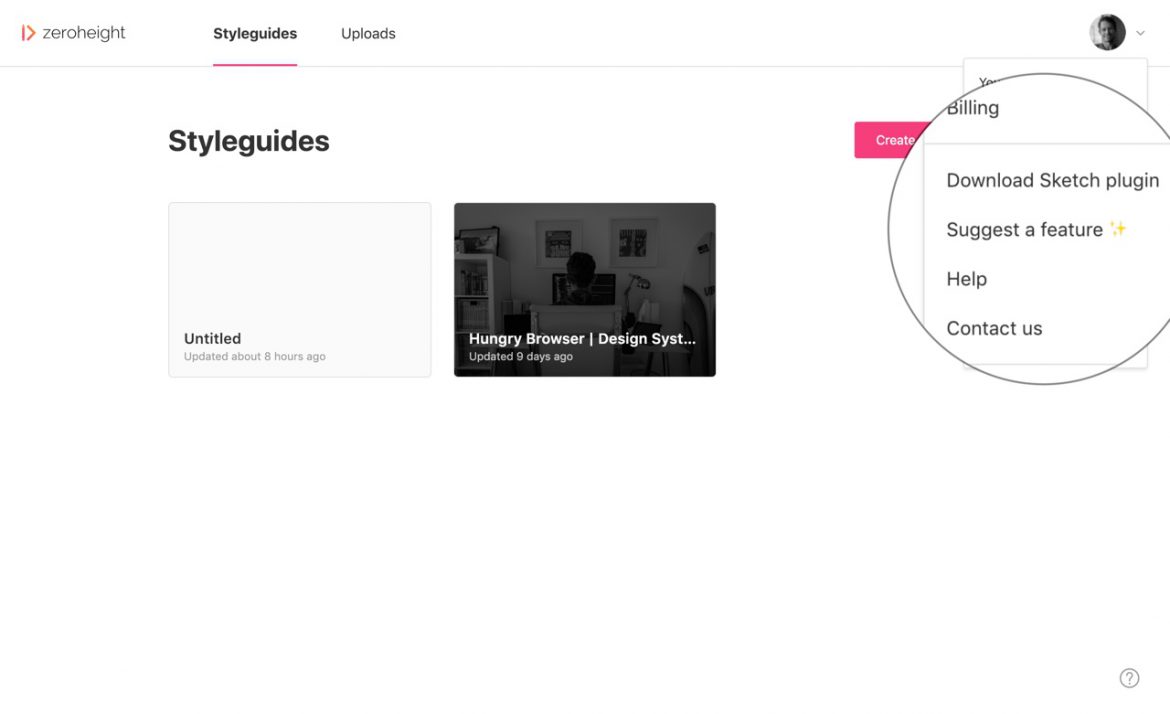
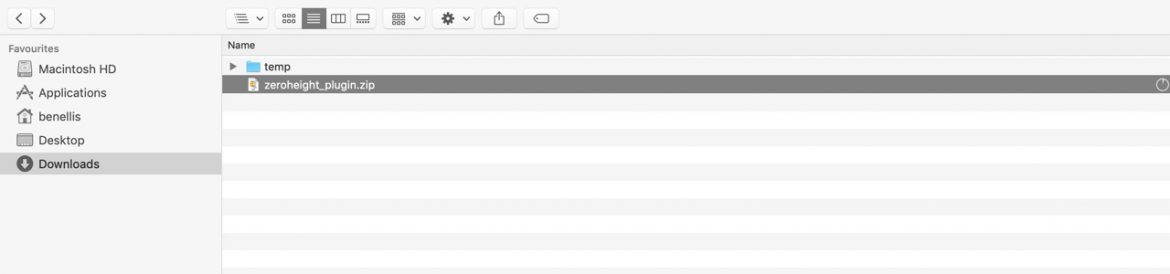
You can grab the zip file from the account dropdown menu.
Install The Plugin
Double-click on the zip file in your downloads folder and then click on the plugin. This should launch Sketch and install the plugin.
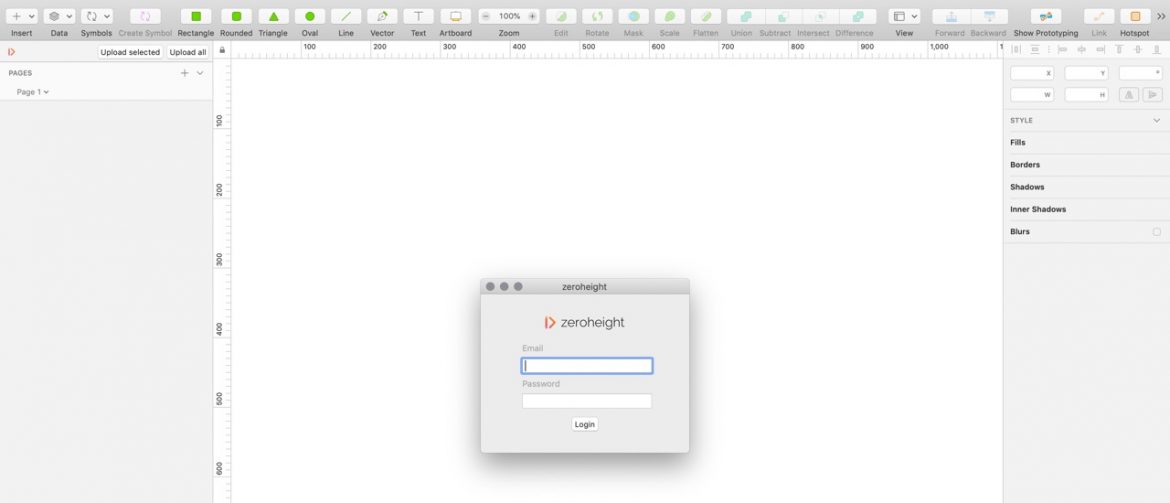
Log In To Zero Height
Select plugins > Zero Height > Log In and then enter your credentials into the modal and you will be all set to start uploading.
Preparing Your Sketch Library
Now that you've had a quick look around Zero Height and installed the Sketch plugin it's time to dive into preparing your Sketch assets.
It's beyond the scope of this article to cover every detail creating and organising a Sketch library. But I'll cover some of the basics below to help you prepare your library. This should ensure the transition to Zero Height should be as smooth as possible.
I'm assuming you've already set-up your library. If you haven't, then it is worth checking out the official docs first.
Sketch Symbol Naming Conventions
Organisation is key to a successful and scalable Sketch library. It doesn't matter if you follow atomic design, BEM, or another methodology. Just choose an approach, be consistent and stick to it.
Due to the simplicity of my website, I used a system of atoms, elements and components.
Atoms
These are my smallest items within my Sketch library and include logos, Icons, Colours, Stokes etc. I organised them like this:
- Atoms/Logos/Name-Of-Item
- Atoms/Icons/Name-Of-Item
- etc.
Elements
Elements contain one or more item i.e. a button that includes an icon, label and background colour. I organised them like this:
- Elements/Buttons/Name-Of-Item
- Elements/Links//Name-Of-Item
- Etc.
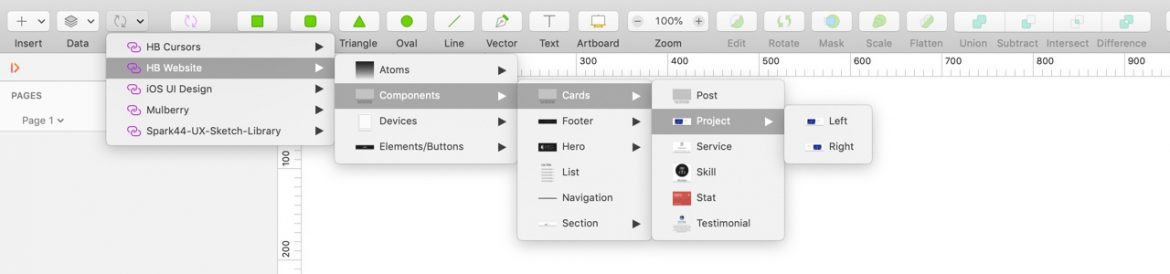
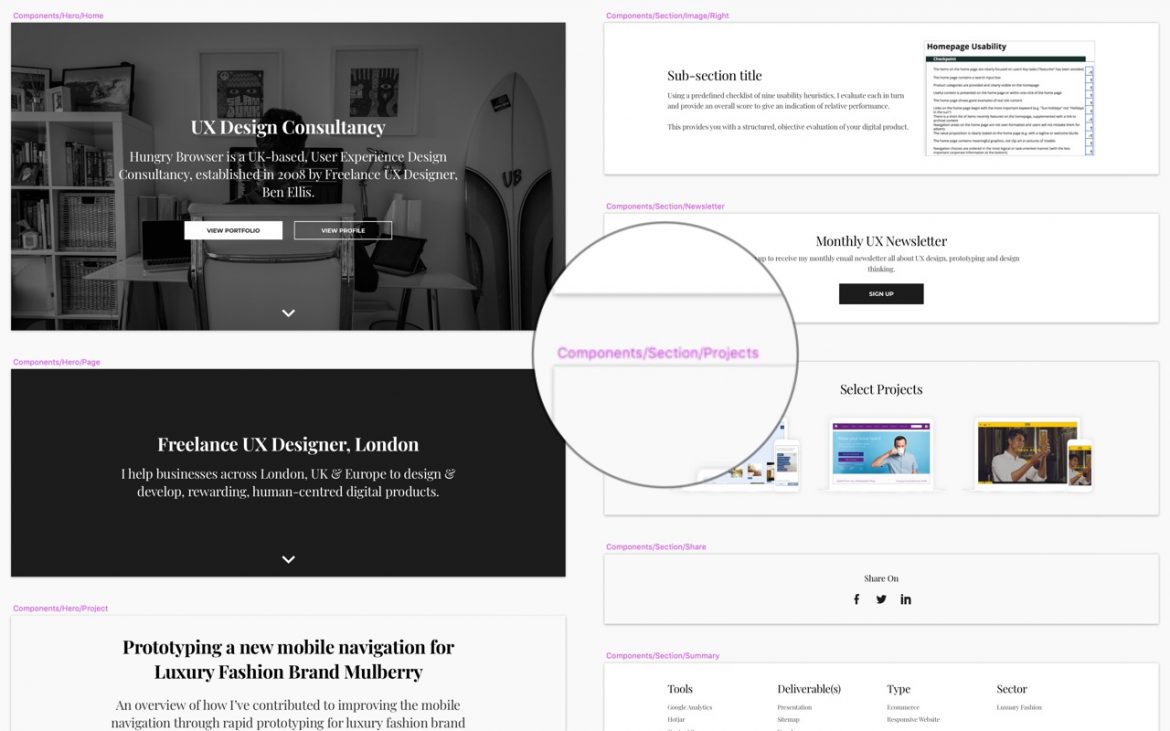
Components
Components are my most complex items and include type, images, buttons etc. I organised them like this:
- Components/Cards/Name-Of-Item
- Components/Hero/Name-Of-Item
- etc.
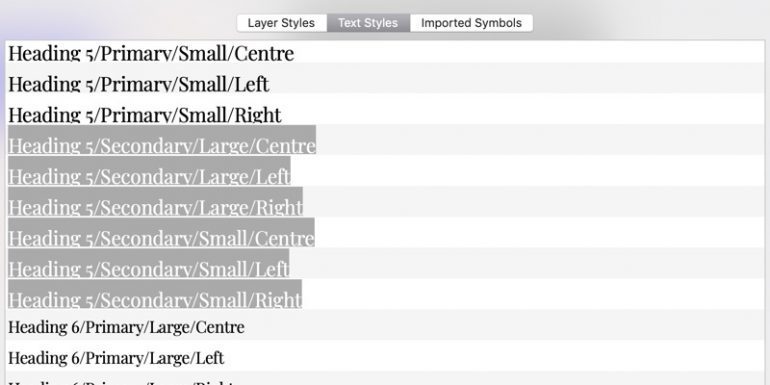
Text Styles
I went through a similar process with the naming of my text styles following a variation of BEM:
- Block/Modifier-1/Breakpoint/Optional-Modifier-2
- H1/Primary/Large/Left or H1/Secondary/Large/Right
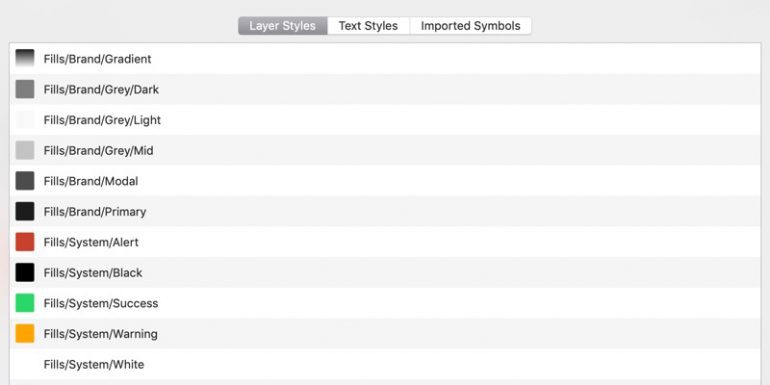
Layer Styles
Now that Sketch supports overriding layer styles within symbol instances, it makes even more sense to maintain one set of styles and remove colours stored as symbols.
I divided my styles into fills, strokes and shadows with further sub-divisions for brand and system/UI. This allows me to access them easily from Sketch's menus.
- Fills/Brand/Primary
- Strokes/System/Grey
Uploading From Sketch To Zero Height
Now that we've covered the basics of creating a well-structured Sketch library, we can jump back over to Zero Height.
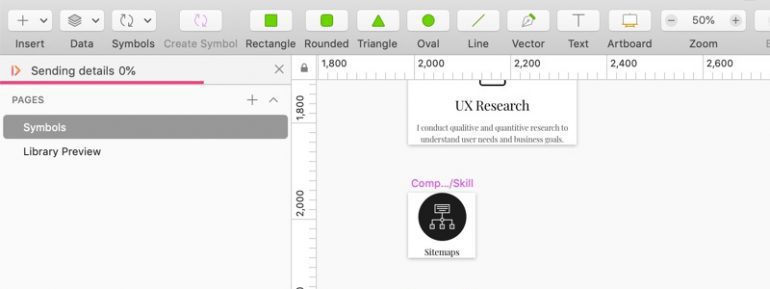
Make sure your Sketch library file is open in Sketch and then choose 'Upload All'. This should upload a copy of your entire library file to Zero Height. You should see a progress bar similar to the image below.
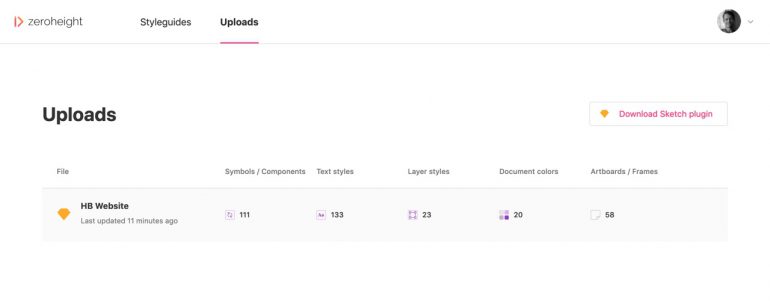
Once the progress bar has finished you should see your Sketch library in the uploads section in Zero Height.
Adding Items To Your Design System
If you jump back over to the 'Styleguides' tab you can now add items from your Sketch library into your design system.
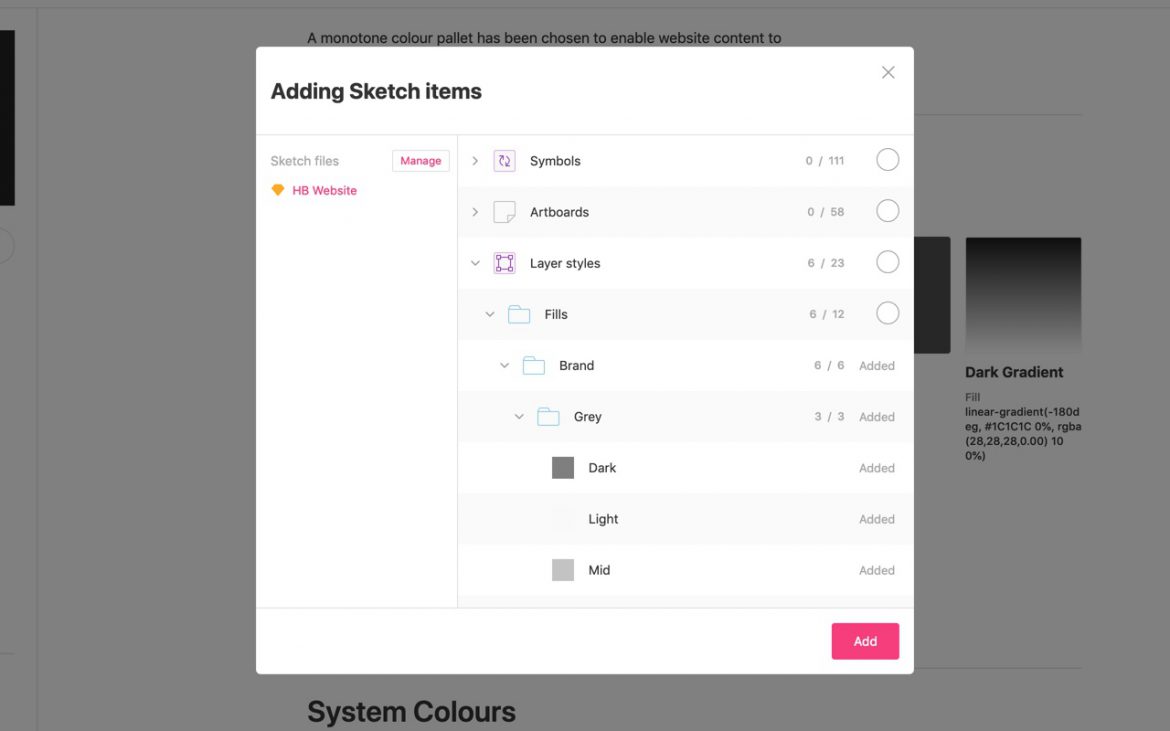
Select Items From The Modal
Select the 'Add' button. This will launch a modal window with a tree view of all the items you uploaded from your Sketch library. Locate the item you want and select the corresponding checkmark on the right-hand side, then hit 'Add'.
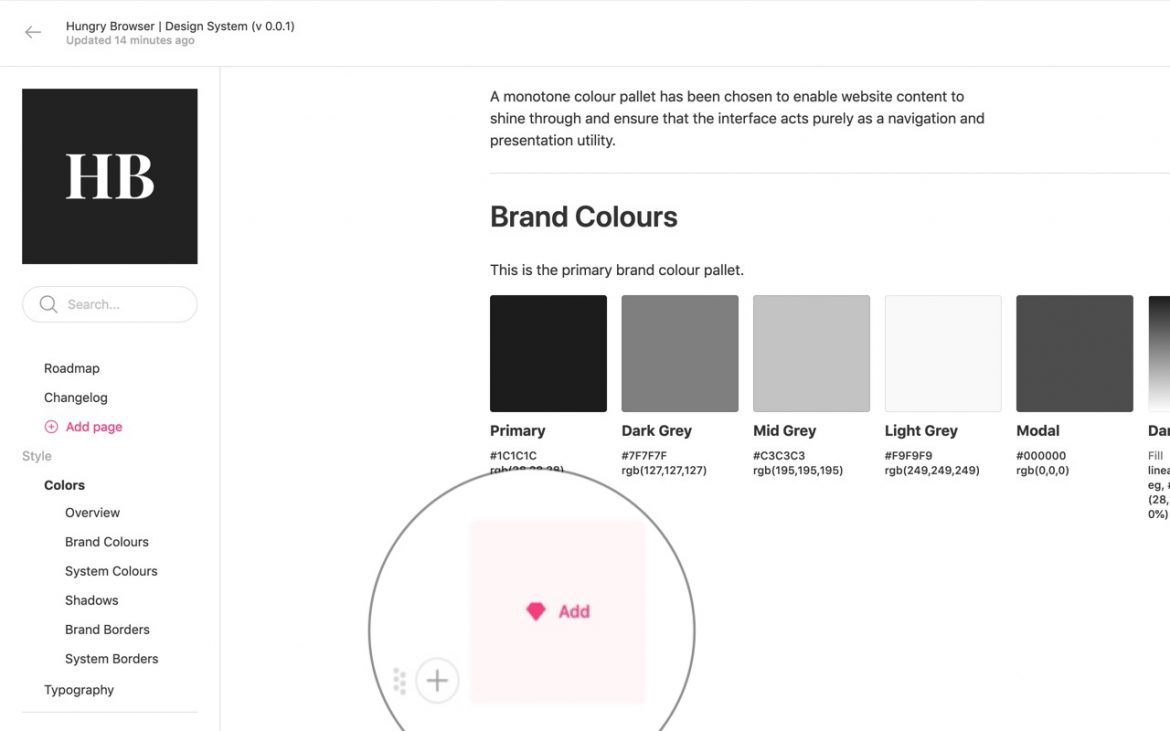
Colour Titles & HEX Codes
Once you've added your items, you'll see the corresponding items added within your design system. In the case of colours, you'll notice the HEX codes automatically generated and paired with the names you provided within your design system. Helpful for developers.

Auto-generated Type Hierarchy
You'll also notice your text styles have been converted to an elegant, hierarchical list with placeholder text.

Embedding Other Assets
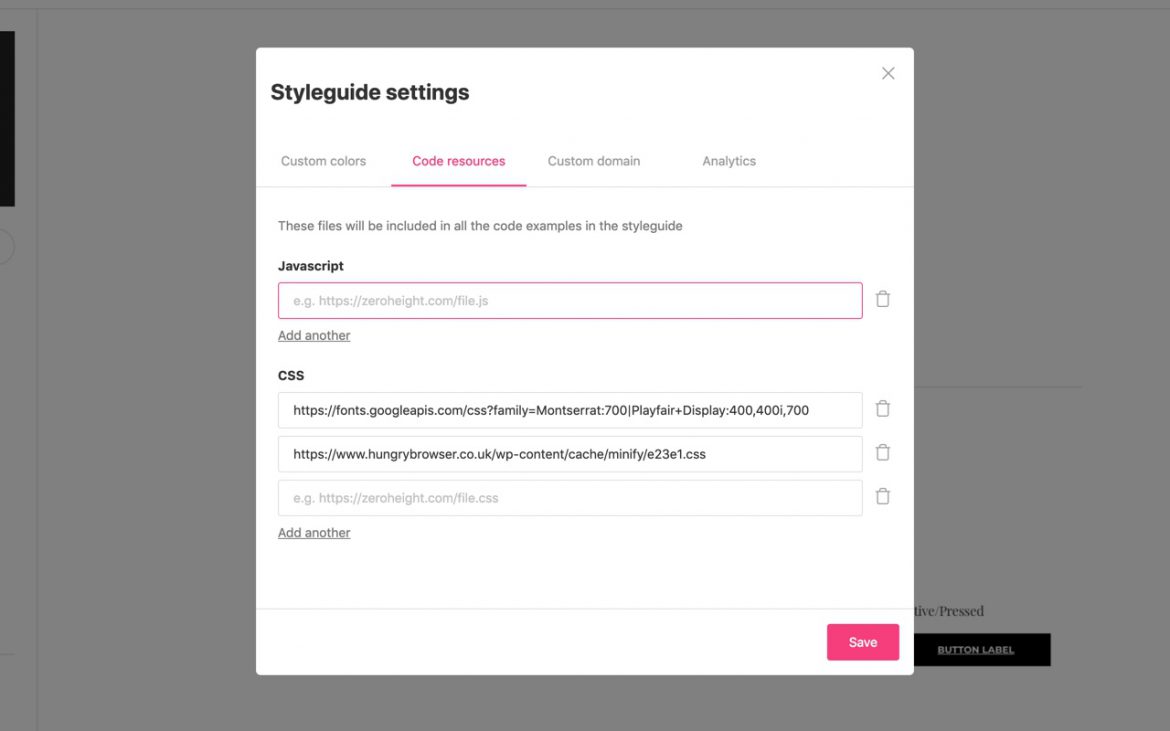
You're not limited to just Sketch assets. Zero Height also supports embedding prototype, videos, gifs and code snippets.
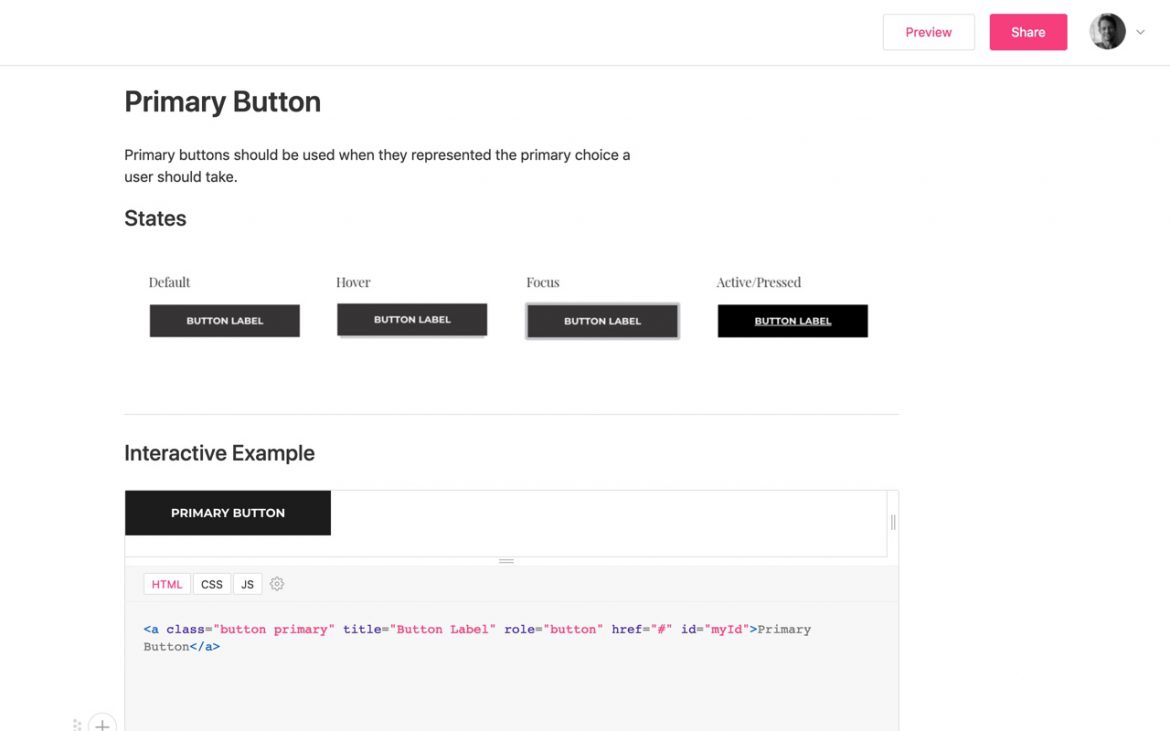
I hooked-up my global font and CSS files and then added some simple button code. The result is a live, working example to accompany the graphical assets. This is a great feature where designers and developers can collaborate to develop a single source of truth for each item within your system.
Rinse And Repeat
Go through your entire Sketch library and repeat the steps above until you've uploaded everything (or at least the key items). You can then move onto documentation.
Documenting Your Assets
It's all-well-and-good uploading Sketch libraries to Zero Height, but if you don't document them, then essentially you've just got a Sketch library file sitting in the Cloud and not a design system.
Documentation Structure
You don't need to document everything all at the same time. You can add detail over time. I took quite a bit of time up-front to add an overview and some fairly-detailed design principles. My list was something like the below:
- Introduction
- Design Principles
- Accessibility (work-in-progress)
- Content (work-in-progress)
- Tools
- Roadmap
- Change Log
The Devil's In The Details
I then went through my styles and components sections and added detail where I thought appropriate. The level of detail you include will depend on the complexity of your system and who its intended audience is.
Over time, as you add more components, documentation and code examples your system will become richer. It should provide your organisation (and external teams) with a single source of truth for both designers and developers to work together to produce consistent, delightful digital products.
Concluding Thoughts
Zero Height is a great tool to use alongside Sketch to kick-start your style guide or design system. There are many other tools out there, (besides the aforementioned Lingo and InVision DSM). I'd love to hear what tools you are using and also what you thought of this article.
Leave a comment below or give me a shout on twitter.
Thanks for reading and good luck with your design system.